But just as you’re ready to look your best, a bright red pimple decides to make an unwelcome appearance right on your cheek. It’s frustrating, right? Fear not! This guide is your secret weapon against those pesky red spots. Here, you’ll learn not just to cover them up but to do so like a pro, ensuring your confidence shines as brightly as your complexion. Let’s dive into the art of camouflaging pimples with makeup, keeping your skin looking flawless and your spirits high.
Understanding Pimple Redness
Before diving into the cover-up techniques, it’s crucial to understand what causes pimples to become red. This redness is typically due to inflammation and swelling as the body fights off bacteria clogging up pores. Knowing this helps in choosing the right products to not only conceal but also soothe the area.
Step-by-Step Guide to Covering Pimple Redness
Step 1: Clean and Prep Your Skin
- Cleanse Gently: Start with a mild cleanser to remove dirt, oil, and impurities. Avoid scrubbing the affected area to reduce further irritation.
- Apply Ice: Wrap an ice cube in a clean cloth and hold it over the pimple for a few minutes to reduce swelling and redness.
- Moisturize: Use an oil-free moisturizer to hydrate your skin, creating a smoother canvas for makeup application.
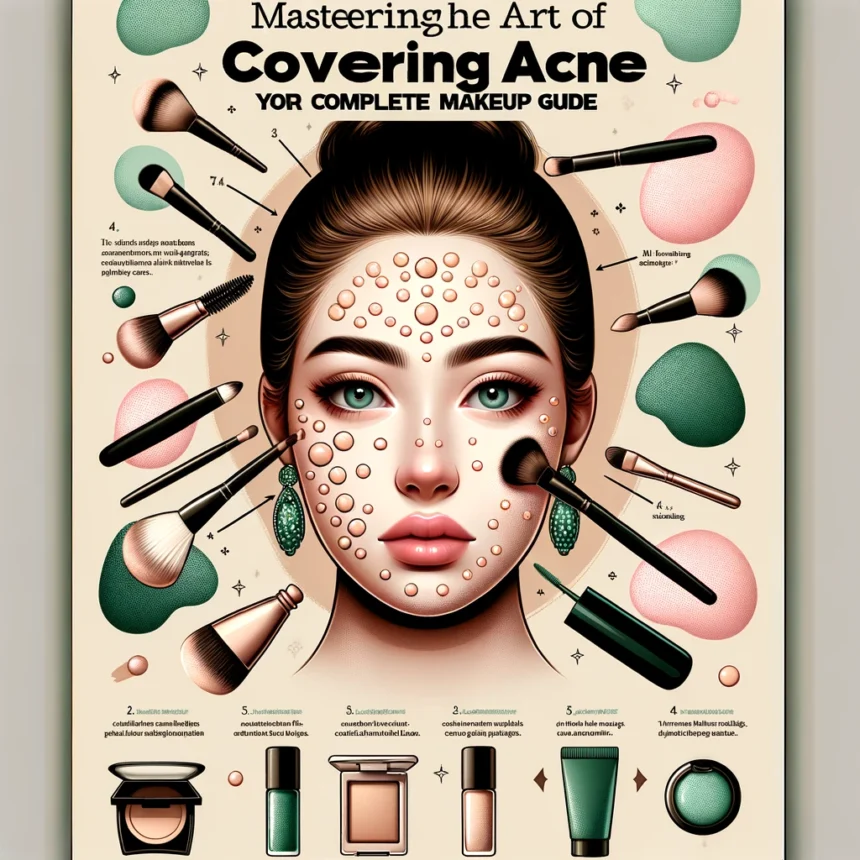
Step 2: Use a Green Concealer
- Why Green?: Green is opposite red on the color wheel, which means it’s perfect for neutralizing red tones. Dab a small amount of green concealer directly on the pimple.
- Product Suggestion: Try the NYX Professional Makeup HD Photogenic Concealer Wand in Green. It’s affordable and highly effective.
Step 3: Apply Foundation
- Choose the Right Shade and Formula: Match your foundation to your skin tone and choose a formula that suits your skin type (e.g., matte for oily skin).
- Application Technique: Use a makeup sponge or brush to apply foundation gently around the area, blending into the rest of your face to avoid a patchy look.
Step 4: Layer with a Skin-Colored Concealer
- Selecting a Concealer: Pick a concealer that matches your skin tone perfectly. This will go over the green concealer to blend the area seamlessly with your natural skin color.
- Blending: Pat the concealer gently over the pimple and the surrounding area to blend it smoothly.
Step 5: Set with Powder
- Choose Your Powder: A translucent setting powder works best to set the makeup without adding extra color.
- Gentle Application: Lightly dust the powder over your face using a fluffy brush, focusing on the concealed pimple to lock the makeup in place.
Additional Tips and Tricks
- Avoid Heavy Makeup Layers: Building too much makeup over the pimple can make it more noticeable. Less is often more.
- Regularly Wash Your Tools: Brushes and spones can harbor bacteria, which can worsen skin issues. Clean your tools regularly.
- Choose Non-comedogenic Products: These products are specifically designed not to clog pores, reducing the risk of further breakouts.
Real-Life Examples
Case Study: Emily, a 24-year-old with sensitive skin, used this method for a wedding. She prepped her skin with a soothing aloe vera gel, used green concealer lightly, and chose a water-based foundation. Her makeup stayed put from ceremony to reception, and her photos were flawless.
Conclusion
Covering up pimple redness effectively requires the right tools and techniques, but it’s definitely achievable. By following this guide, you can ensure that your skin looks vibrant and even-toned, no matter what skin challenges you face. Remember, the key is in the preparation and the quality of products you use. With this knowledge, your makeup can enhance your natural beauty, even on days when pimples decide to crash the party.
Embrace your skin, embrace the day!
This comprehensive approach not only gives you practical steps to follow but also incorporates understanding and empathy towards skin issues, encouraging a positive and confident attitude towards beauty. Remember, the best foundation you can wear is healthy, happy skin!


Hi there very cool blog!! Guy .. Beautiful .. Superb .. I will bookmark your blog and take the feeds I’m glad to find numerous useful information here in the put up, we need work out more techniques in this regard, thanks for sharing. . . . . .
We’re a group of volunteers and starting a new scheme in our community. Your website provided us with valuable information to work on. You have done a formidable job and our entire community will be grateful to you.
What i don’t understood is in fact how you are no longer really much more neatly-favored than you may be right now. You’re so intelligent. You realize therefore significantly in terms of this subject, produced me in my view believe it from so many varied angles. Its like women and men don’t seem to be fascinated until it is something to do with Girl gaga! Your own stuffs outstanding. All the time take care of it up!
Thanks for revealing your ideas on this blog. As well, a misconception regarding the financial institutions intentions whenever talking about property foreclosures is that the bank will not take my payments. There is a certain amount of time in which the bank will need payments in some places. If you are way too deep within the hole, they’ll commonly call that you pay that payment in full. However, that doesn’t mean that they will not take any sort of repayments at all. In the event you and the bank can be capable to work something out, this foreclosure procedure may halt. However, if you ever continue to miss payments beneath new approach, the foreclosure process can just pick up where it left off.
Great beat ! I wish to apprentice even as you amend your site, how could i subscribe for a weblog web site? The account helped me a applicable deal. I had been tiny bit acquainted of this your broadcast offered vibrant clear idea